
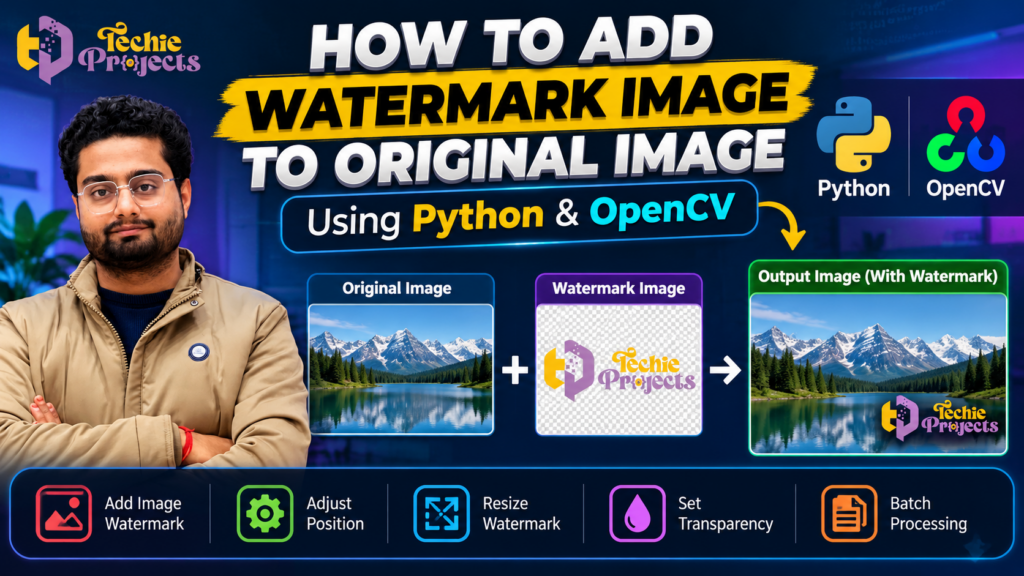
Want to learn image processing through a practical Python project instead of spending hours building everything from scratch? The How to Add Watermark Image to Original Image project from Techie Projects is a useful option for students who want to explore Python programming, OpenCV, and automated image editing in one practical application. If you are preparing a computer science project, a mini project, or a final-year engineering submission, this project can help you understand how image watermarking works and how it can be implemented using programming.
Looking for a Python image processing project you can explore, run, and understand? Contact Techie Projects to enquire about project availability, implementation details, and the deliverables offered. Instead of beginning with an empty editor, you can explore a project-based learning approach and focus on understanding the code, testing the application, and preparing your academic presentation.
🎬 Watch the Image Watermarking Project Demo
Explore the project demonstration to understand how a watermark can be combined with an original image using Python. The demonstration can help you see the input image, watermark image, processing steps, and resulting output, depending on the implementation.
📌 What Is the How to Add Watermark Image to Original Image Project?
The How to Add Watermark Image to Original Image project demonstrates the concept of adding a logo, text graphic, or another image over an existing picture using Python-based image processing. A watermark can identify the owner of an image, promote a brand, or help viewers recognize the source of a visual asset.
For example, a photographer may add a small logo to photographs before publishing them online. A business may place its branding on product images, while a content creator may watermark graphics before sharing them on social media. Automating this process can reduce repetitive manual editing.
Python provides libraries that can read, manipulate, and save images. OpenCV is commonly used for computer vision and image processing, while Pillow is another option for image composition and image-file operations. The appropriate library depends on the project’s implementation and requirements.
The purpose of this project is to demonstrate how image files can be processed programmatically rather than edited one at a time using a graphical editor.
🎯 Why Choose This Python Image Processing Project?
Students often need a project that demonstrates a clear technical concept and can be explained during a practical examination or project presentation. Image watermarking is a suitable topic because the input, processing operation, and output are relatively easy to understand.
Here are several reasons to consider the How to Add Watermark Image to Original Image project:
- Practical Python application: Understand how Python can automate a repetitive image-editing task.
- Image processing concepts: Explore image loading, dimensions, placement, blending, and saving.
- Visual results: Compare the original image with the watermarked output.
- Customisation opportunities: Experiment with watermark size, position, and transparency when supported.
- Academic learning: Use the project to explore programming logic, testing, and technical documentation.
- Further development: Investigate batch processing, text watermarks, or a graphical interface as possible extensions.
The actual features available depend on the specific project version. Confirm the implementation and included deliverables with Techie Projects before purchasing.
🖼️ Benefits of How to Add Watermark Image to Original Image
Learning How to Add Watermark Image to Original Image helps students understand how Python can automate repetitive image-editing tasks. Instead of manually placing a logo on every picture, an image-processing workflow can combine an original image and a watermark programmatically. Depending on the implementation, students can also explore image resizing, watermark positioning, transparency, and output-file handling.
⚙️ How to Add Watermark Image to Original Image Using Python
The general workflow for image watermarking involves selecting the source image, loading the watermark, combining the two, and saving the result. The exact implementation can vary according to the library and project design.
1. Select the Original Image
The original image is the picture that will receive the watermark. It could be a landscape photograph, a product image, a promotional graphic, or another supported image file.
The program first needs to locate and load the source file. Correct file paths and supported image formats are important because an incorrect path or unreadable file can cause processing errors.
2. Load the Watermark Image
The watermark may be a logo, icon, or other graphic. A transparent PNG is often useful because it can allow the original image to remain visible behind the watermark.
The program reads the watermark and checks its dimensions. If the graphic is too large, it may cover an unnecessary portion of the original picture. If it is too small, the watermark may be difficult to notice.
3. Resize and Position the Watermark
Watermark placement affects the final appearance. Common positions include a corner, the centre, or another selected area of the image.
A watermark should be scaled appropriately for the source image. Its position should also be checked to prevent it from being clipped or placed outside the image boundaries.
4. Combine the Images
The watermark can be combined with the original image using an appropriate image-composition method. Depending on the implementation, this may involve handling transparency, alpha blending, or copying pixels into a selected region.
For a transparent watermark, the program needs to preserve the intended appearance of both images. Different image modes and colour formats may require conversion before combining them.
5. Save the Final Image
After processing, the application saves the resulting image to a specified location. A good workflow preserves the original file and writes the processed output to a separate file unless the user intentionally chooses otherwise.
This approach helps prevent accidental loss of the source image and makes it easier to compare the original and watermarked versions.
⚙️ How to Add Watermark Image to Original Image for Automation
The How to Add Watermark Image to Original Image process generally involves loading the source image, reading the watermark file, adjusting its size and position, combining the images, and saving the result. Python libraries such as OpenCV or Pillow can support these operations. The exact steps depend on the project’s code and selected library.
🧰 Technologies Used in Image Watermarking
The tools used depend on the project’s actual implementation. A typical Python image-watermarking application may use the following technologies:
Python
Python is the main programming language in many image processing applications. Its readable syntax makes it suitable for learning programming logic, file handling, and image manipulation.
OpenCV
OpenCV is a computer vision and image processing library. It provides functions for reading, manipulating, and saving images. Some implementations use OpenCV for image loading and composition.
Pillow
Pillow is a Python imaging library that can be used for opening, resizing, converting, and combining images. It is an alternative or complementary tool for image watermarking.
Important: OpenCV and Pillow are possible implementation choices, not a guarantee that every project version uses both. Confirm the project’s actual dependencies before installation.
✨ Features to Explore in an Image Watermarking Application
The following are useful capabilities to look for or consider when developing the application. Availability depends on the version you choose.
- Image input: Load the original image from a supported file.
- Watermark input: Select a logo or graphic to overlay.
- Position adjustment: Place the watermark in a suitable area.
- Watermark resizing: Change its dimensions to suit the source image.
- Transparency control: Adjust opacity if the implementation supports it.
- Output saving: Save the processed image to a chosen destination.
- Error handling: Display useful messages when files cannot be loaded or processed.
These features provide opportunities to study both programming fundamentals and practical image manipulation.
💻 Software and Hardware Requirements
Before choosing the How to Add Watermark Image to Original Image project, check whether your computer meets the requirements of the actual implementation.
Possible software requirements
- Python version compatible with the project’s dependencies
- A code editor such as Visual Studio Code or another Python IDE
- Required image processing library or libraries
- A supported operating system
- Sample images and a watermark graphic for testing
Hardware requirements
A standard laptop or desktop computer is generally sufficient for basic image watermarking. Unlike many deep-learning applications, simple image composition usually does not require a dedicated GPU.
The precise Python version, package versions, storage requirements, and installation steps should be confirmed for the project package you intend to purchase.
🎓 What Can Students Learn from This Project?
The How to Add Watermark Image to Original Image project can support practical learning in several areas:
- Python programming: Work with variables, functions, conditions, and file paths.
- Image representation: Understand image dimensions, colour channels, and file formats.
- Image manipulation: Explore resizing, positioning, and combining image content.
- Debugging: Identify common problems such as invalid paths, unsupported formats, and dimension mismatches.
- Testing: Compare outputs using different images and watermark positions.
- Project presentation: Explain the problem statement, methodology, implementation, results, and limitations.
Students should test the application themselves and understand its code before presenting it. A strong academic demonstration includes an explanation of how the program works, why particular libraries are used, and what could be improved.
🌍 Real-World Applications of Image Watermarking
Image watermarking is useful wherever visual content needs branding, attribution, or identification. Possible applications include:
- Photography: Add a photographer’s logo to preview images.
- E-commerce: Place brand marks on product photographs.
- Digital marketing: Apply consistent branding to promotional graphics.
- Education: Identify the source of diagrams and learning materials.
- Content creation: Add a creator or channel logo to images.
- Business documentation: Label selected visual assets for internal use.
A visible watermark can help communicate image ownership, but it does not guarantee copyright protection or prevent someone from removing or cropping it. Watermarking should be treated as one part of a broader content-management approach.
🚀 Possible Enhancements for Your Python Project
If you want to extend the basic application, consider adding features such as:
- Batch watermarking for multiple images
- Text-based watermarks
- A graphical interface for selecting images
- User controls for watermark position and opacity
- Output format selection
- Previewing the result before saving
- Progress indicators and clearer error messages
These are potential improvements, not necessarily existing features of the supplied project. They can provide useful discussion points for a project report or future development work.
🛒 Get the How to Add Watermark Image to Original Image Project
Want to explore How to Add Watermark Image to Original Image as a practical Python project? Contact Techie Projects to check availability, pricing, installation requirements, and included deliverables before purchasing.
Rather than spending your entire schedule creating an application from the beginning, you can ask about the available project version and decide whether it matches your requirements. Before purchasing, confirm the code language, library versions, installation procedure, documentation, demonstration, and any explanation or support that may be included.
Why enquire before purchasing?
- Check whether the project matches your academic requirements.
- Confirm the implementation and software dependencies.
- Ask what files and documentation are included.
- Discuss whether the project can run on your computer.
- Clarify pricing, delivery, and any available support before placing an order.
Ready to enquire?
- 📲 Call/WhatsApp: +91-9460060699
- 🌎 Website: www.techieprojects.com
- 📺 Instagram: @pythonprojects_
Send your project name, course, deadline, and any college requirements when enquiring. This helps clarify whether the available project is appropriate for your needs.
🔗 Explore Related Python Projects
If you are interested in practical programming and computer vision, explore related topics on Techie Projects:
- Python Image Processing Projects
- OpenCV Projects
- Computer Vision Projects
- Python Automation Projects
- Machine Learning Projects
- Final-Year Computer Science Projects
Explore the Techie Projects website to discover other project ideas and enquire about relevant options.
❓ Frequently Asked Questions
1. What is the purpose of an image watermarking project?
Its purpose is to demonstrate how a logo, text graphic, or other image can be added to an original image using a programming-based workflow.
2. Can I create an image watermark using Python?
Yes. Python libraries such as Pillow and OpenCV can support image-processing workflows. The exact method depends on the requirements of the application.
3. Is this project suitable for engineering students?
It can be suitable for students studying Python programming, image processing, or computer vision, provided that its scope matches their course requirements.
4. Does the project support transparent watermarks?
Transparency can be implemented using suitable image formats and blending methods. Confirm whether the version available from Techie Projects includes this functionality.
5. Do I need a powerful computer?
Basic image watermarking generally runs on an ordinary computer. However, check the specific software dependencies and requirements before installation.
6. Can I customise the project?
Customisation depends on the code structure and available functionality. Potential improvements include watermark positioning, resizing, opacity controls, and batch processing.
7. How can I purchase this project?
Visit Techie Projects or contact the team through WhatsApp. Confirm the price, deliverables, installation requirements, and available support before purchasing.
🎯 Final Thoughts
The How to Add Watermark Image to Original Image project is a practical way to explore Python-based image manipulation and automation. It connects programming concepts with a task that photographers, creators, and businesses may use in their everyday workflows.
If you are considering this topic for an academic project, focus on understanding the code, testing different inputs, and explaining the output clearly. For a ready-to-explore option, contact Techie Projects to confirm availability and the exact package details before making your purchase.
Start your project enquiry today: Visit Techie Projects or message us on WhatsApp.